
In The Swim Pool Closing Kit - Winterizing Chemicals for Above Ground and In-Ground Pools - Up to 35,000 Gallons
- Convenient: In The Swim's Pool Winterizing and Closing Chemical Kit streamlines pool closing with all.
- Safe and Reliable Protection: Our winter chemical kits provide reliable protection without the risk of.
- Effective Oil Absorption: In The Swim's Winter Sorb absorbs 40 times its weight in oils, preventing.
- Comprehensive Kit Components: Kit includes 1 Qt. Winterizer, 1 Qt. Winter Stain-Away, 3 Lb. Chlorine Free.

3 in 1 Winter Closing Kit - Pool Winterizing Kit for Above Ground Pool and inground Pools, Easy to Use - Up to 30,000 Gallon
- Say Goodbye to Green Water - Our winter kit maintains the clarity and vibrant blue color of the pool water.
- Carefree Pool Opening - Bid farewell to laborious pool maintenance rituals in the coming year. Efficient.
- 3-in-1 Dual Protection - POOLHACKER winter kit safeguards pool surfaces without compromising other treatments.
- Suitable for All Pools - The two balls are suitable for any shape or size of pool with a capacity of.
Freezing temperatures can expand water inside pool pipes, causing them to burst and leading to expensive repairs. Properly winterizing an above ground pool prevents this damage, saves money, and ensures a smoother pool opening in the spring. This complete guide walks you through each necessary step to prepare your above ground swimming pool for the cold months of 2026.
When to Winterize Your Above Ground Pool
Timing is important when you are ready to close an above ground pool for the winter. You should begin the winterization process when temperatures consistently drop below 65°F (18°C) but before they reach freezing. Aim for nighttime temperatures that stay below 40°F (4°C) for several consecutive days. This timing helps prevent algae growth after you add winterizing chemicals, but before the water gets too cold to effectively treat.
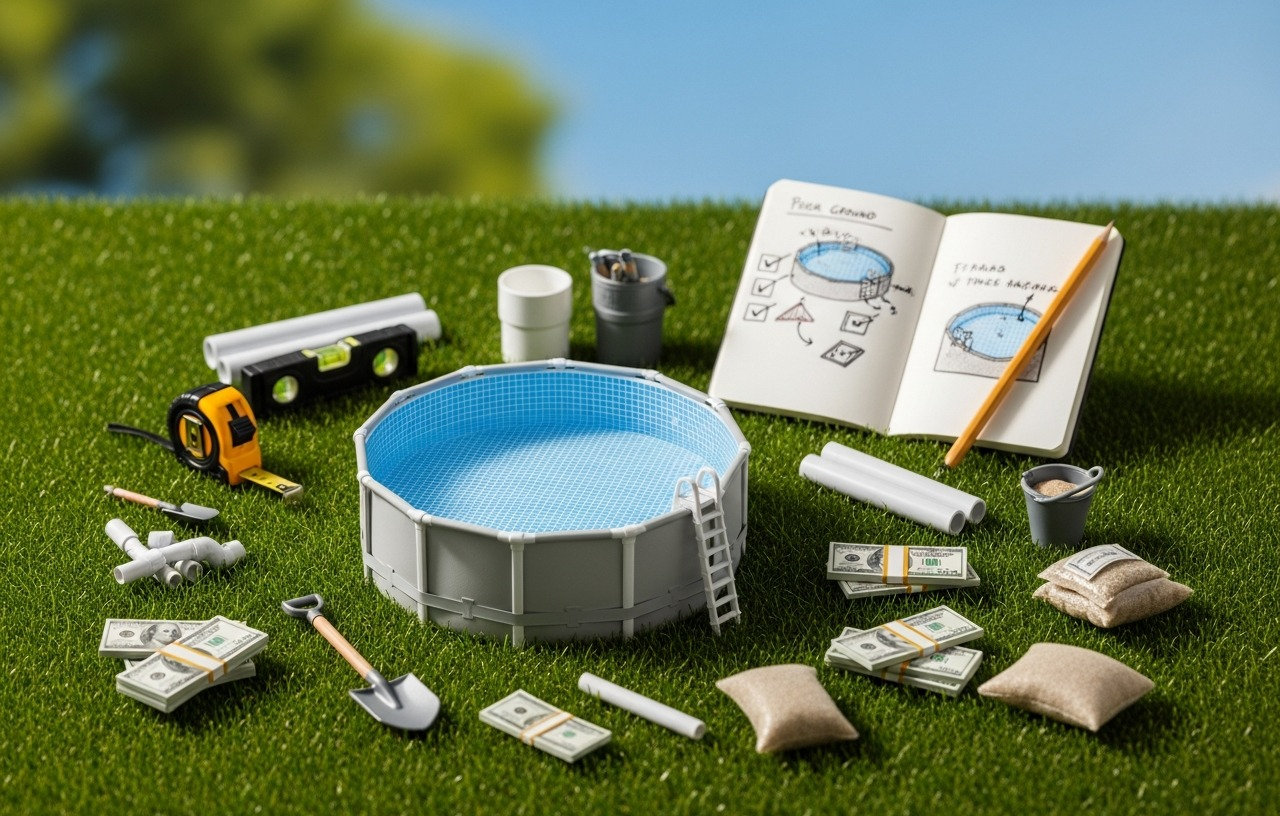
Tools and Materials You Will Need
Gathering your supplies beforehand makes the process more efficient. Here's what you will need:
- Pool skimming net, brush, and vacuum
- Water testing kit or strips
- Winterizing chemical kit (algaecide, shock, stain inhibitor)
- Pool drain pump or siphon hose
- Winter cover for above ground pools
- Winter cover clips or weights (water tubes)
- Air pillow (for areas with heavy freezing)
- Skimmer plug and return line plugs
- Gizzmo for skimmer opening (optional, but recommended for extra protection)
- Air compressor or shop vac (for blowing out lines)
- Teflon tape
- Phillips head and flathead screwdrivers
- Adjustable wrench
- Storage containers for equipment
- Safety goggles and chemical-resistant gloves
Safety First
Working with pool chemicals and electrical equipment requires caution. Always wear appropriate personal protective equipment, such as safety goggles and chemical-resistant gloves, when handling pool chemicals. Read and follow all manufacturer instructions for chemical dosages and application. Disconnect all electrical power to your pool pump, filter, and heater before working on any equipment. Be aware of slippery surfaces around the pool.
How to Winterize an Above Ground Pool: step by step Guide
Follow these steps closely to effectively winterize your above ground pool and protect it through the coldest season.
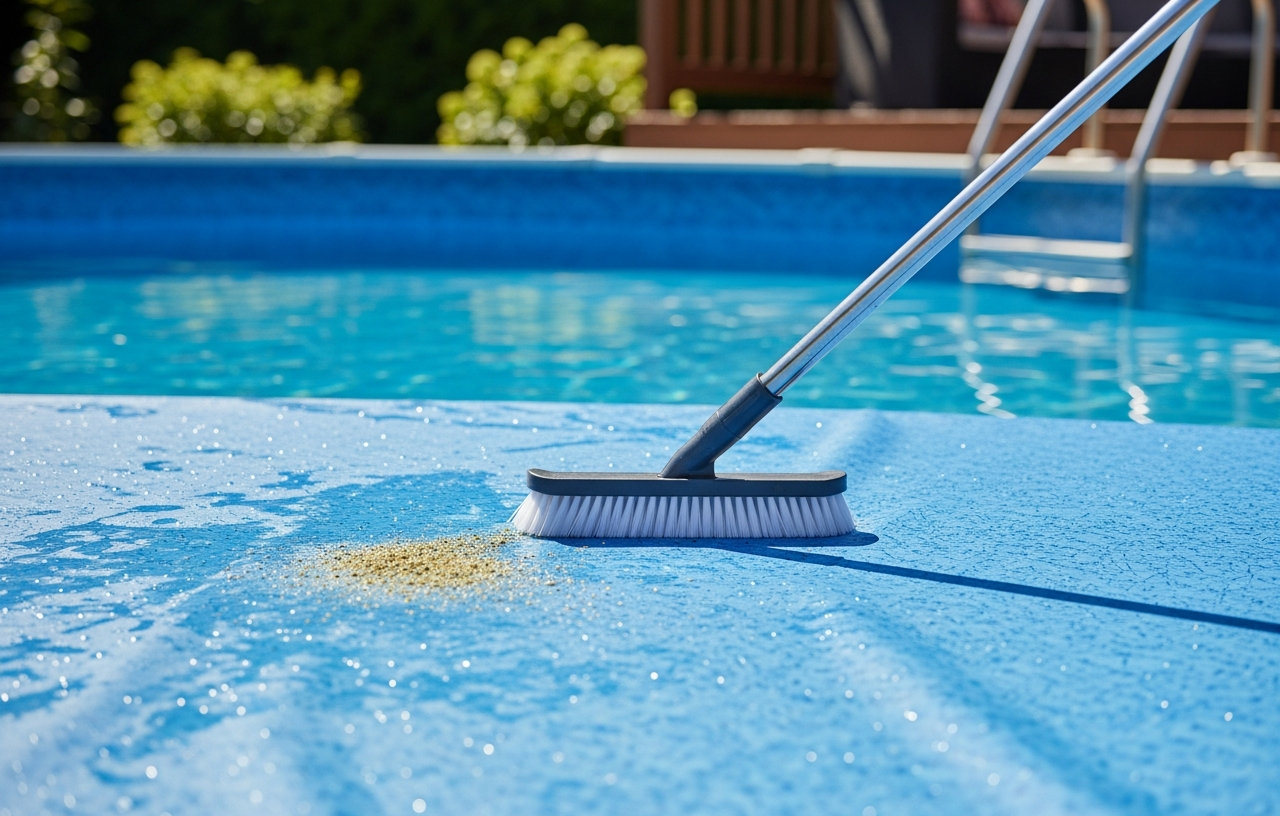
Step 1: Clean the Pool Thoroughly (Estimated Time: 1-3 hours)
A clean pool before closing helps prevent algae and stains over the winter. Start by skimming any debris from the surface. Brush the pool walls and floor to dislodge dirt and algae. Vacuum the entire pool thoroughly. A robotic pool cleaner can make this step much easier. Make sure the filter runs for several hours after cleaning to remove suspended particles.
Step 2: Balance Water Chemistry (Estimated Time: 30 minutes, plus waiting time)
Properly balanced water is essential for preventing stains and corrosion during the off-season. Test your pool water and adjust the levels to the following ranges:
- pH: 7.4-7.6 (slightly lower than summer levels helps prevent scale)
- Total Alkalinity: 80-120 ppm (parts per million)
- Calcium Hardness: 180-220 ppm
Adjusting pH is often the first step. If your pH is too high, learn how to lower pool pH for clear water. Allow adequate time for chemicals to circulate and retest before moving to the next step. These kits typically contain a non-chlorine shock, an algaecide, and a stain inhibitor. Apply the chemicals according to the manufacturer's instructions, distributing them evenly around the pool. Run the pump for 2-4 hours after adding chemicals to make sure they circulate throughout the water.
In The Swim's Pool Winterizing and Closing Chemical Kit streamlines pool closing with all essential components. Our winter chemical kits provide reliable protection without the risk of damaging your pool liner. In The Swim's Winter Sorb absorbs 40 times its weight in oils, preventing scum lines and stains.
Another option is the 3 in 1 Winter Closing Kit, which helps maintain the clarity and vibrant blue color of the pool water, helping you say goodbye to green water. This POOLHACKER winter kit safeguards pool surfaces without compromising other treatments. Both options offer effective dual protection.
Step 4: Drain Water to the Proper Level (Estimated Time: 1-2 hours)
The water level needs to be lowered to prevent damage from freezing and to allow for proper cover installation. For above ground pools, drain the water until it is about 4-6 inches below the skimmer opening and the return jets. You can use a submersible pump or siphon hose for this. Do not drain the pool completely, as the weight of the water helps support the pool structure against external pressure, especially from snow and ice.
Step 5: Disconnect and Store Equipment (Estimated Time: 30-60 minutes)
This step is vital to protect your plumbing and electrical components. Disconnect your pool pump, filter, heater (if you have one), chlorinator, and any other attached equipment. Remove drain plugs from all equipment to allow any remaining water to escape. Store all equipment in a dry, warm place, such as a garage or shed, to prevent freezing and corrosion. You can learn more about how to set up an above ground pool pump correctly for future reference.
Step 6: Protect Plumbing Lines (Estimated Time: 30-60 minutes)
Water left in plumbing lines will freeze and crack pipes. This is a critical step for how do you winterize an above ground pool. Use an air compressor or a powerful shop vac set to "blow" to force all water out of the skimmer line and return lines. Blow until no more water comes out. Once clear, install rubber expansion plugs into the return jets and a skimmer plug into the skimmer opening. A Gizzmo can also be screwed into the skimmer opening for added protection against ice expansion.
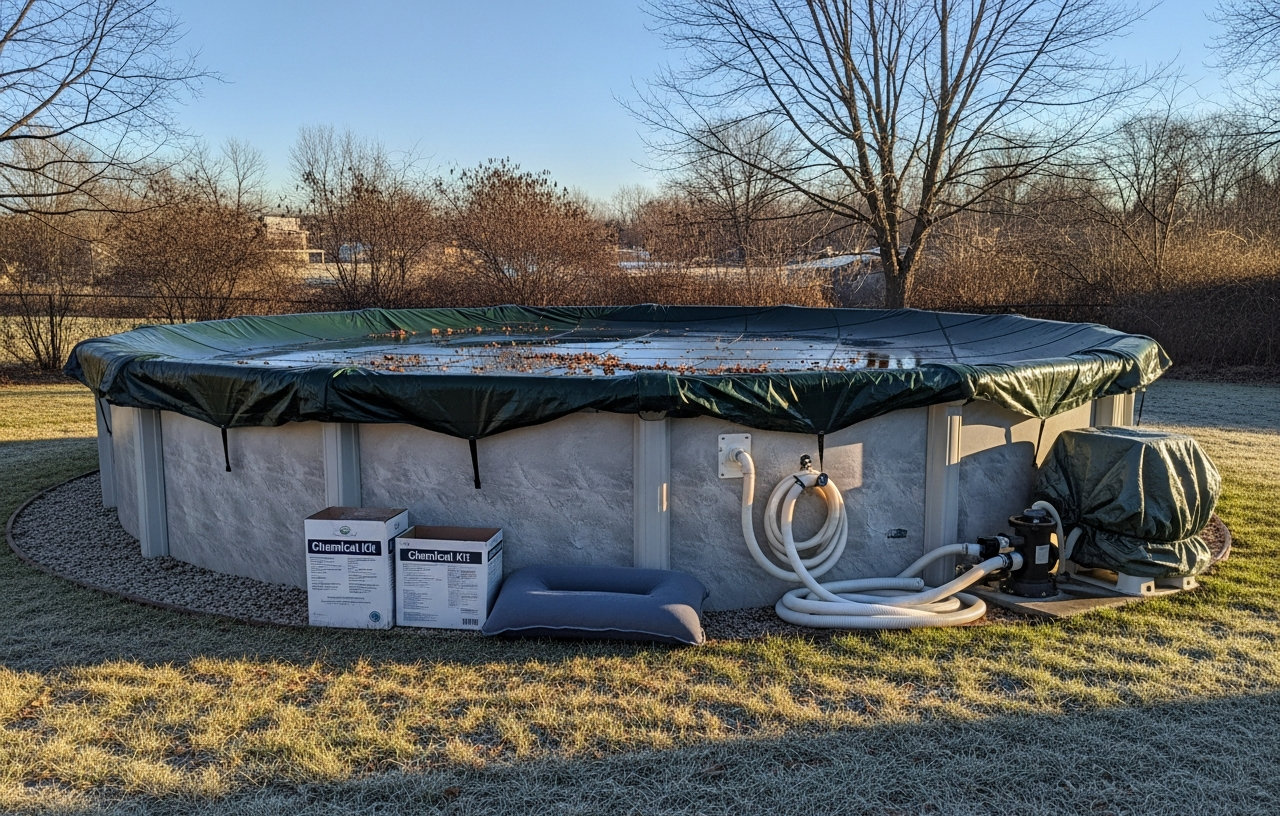
Step 7: Install the Winter Cover (Estimated Time: 30-60 minutes)
A good winter cover protects your pool from debris, sunlight, and helps prevent algae growth. Spread the winter cover over the pool, making sure it extends several feet beyond the pool edges. Secure the cover tightly using winter cover clips or water tubes. Water tubes should be filled three-quarters full with water and placed around the perimeter of the cover, resting on the ground, to hold it in place. Make sure the cover is taut to prevent excessive sagging from snow or rain accumulation.
Step 8: Add an Air Pillow (Estimated Time: 10-20 minutes)
An air pillow is optional but highly recommended in regions with severe freezing. Inflate the air pillow and place it in the center of the pool before installing the winter cover. The pillow absorbs ice expansion, taking the pressure off your pool walls and liner. Tie it securely to the pool frame or use ropes to keep it centered under the cover. This helps to close an above ground pool for the winter properly.
Step 9: Final Checks (Estimated Time: 15 minutes)
Before you finish, perform a final inspection. Confirm all equipment is disconnected and stored. Verify that all lines are plugged and clear of water. Check that the winter cover is securely fastened and free of tears. A thorough final check helps prevent unexpected issues when you open your pool in the spring.
Maintenance During Winter
Even though your pool is closed, occasional checks are still beneficial. Periodically inspect the winter cover. Remove any heavy snow or standing water from the cover to prevent damage and sagging. Make sure the water tubes or cover clips are still securely holding the cover in place. If you notice any tears in the cover, patch them promptly to keep debris out.
Preparing for Spring Opening
Proper winterization simplifies the spring opening process significantly. When warmer weather returns, you will find your pool water in much better condition, requiring less effort to get it ready for swimming. This means less scrubbing and fewer chemicals needed. For a complete guide to getting your pool ready for the warmer months, refer to our article on How to Open Your Pool for Summer: Complete 2026 Checklist.
In The Swim Pool Closing Kit - Winterizing Chemicals for Above Ground and In-Ground Pools - Up to 35,000 Gallons
- Convenient: In The Swim's Pool Winterizing and Closing Chemical Kit streamlines pool closing with all.
- Safe and Reliable Protection: Our winter chemical kits provide reliable protection without the risk of.
- Effective Oil Absorption: In The Swim's Winter Sorb absorbs 40 times its weight in oils, preventing.
- Comprehensive Kit Components: Kit includes 1 Qt. Winterizer, 1 Qt. Winter Stain-Away, 3 Lb. Chlorine Free.
3 in 1 Winter Closing Kit - Pool Winterizing Kit for Above Ground Pool and inground Pools, Easy to Use - Up to 30,000 Gallon
- Say Goodbye to Green Water - Our winter kit maintains the clarity and vibrant blue color of the pool water.
- Carefree Pool Opening - Bid farewell to laborious pool maintenance rituals in the coming year. Efficient.
- 3-in-1 Dual Protection - POOLHACKER winter kit safeguards pool surfaces without compromising other treatments.
- Suitable for All Pools - The two balls are suitable for any shape or size of pool with a capacity of.